![1512632091642-p-500.png]](https://help.consignorconnect.com/hs-fs/hubfs/1512632091642-p-500.png?width=131&height=50&name=1512632091642-p-500.png)
Still on Classic Rose? See the Classic Rose steps.
In each screenshot, the yellow boxes show what to click. Numbers give the order.
Overview
Categories group your items (for example, Home Decor or Seasonal). Each category sets how long its items stay on the shelf, which taxes new items start with, and a price guide for staff. Rose sends each category to Square, so the same categories show on your Square items.
Where to find it: Dashboard › menu (☰) › Categories › CREATE. You need the Categories module right (User Maintenance).
Step 1: Open Categories
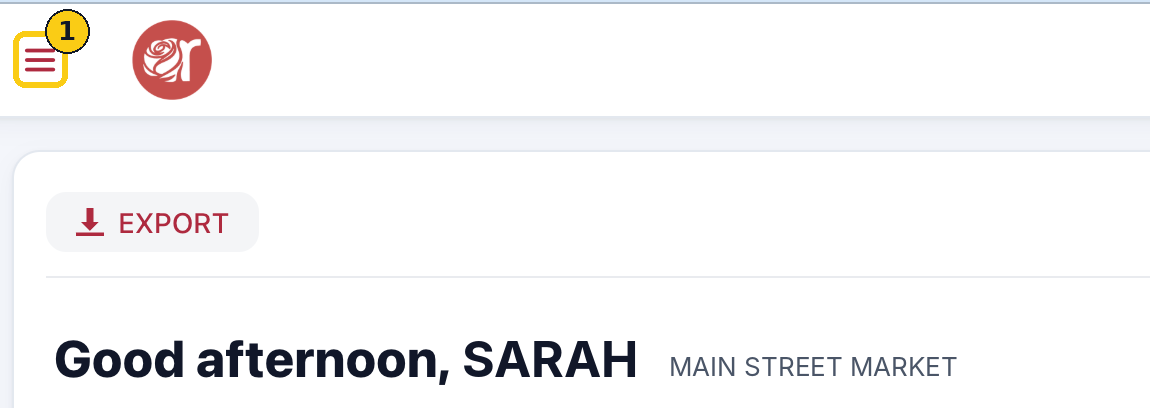
1. On your Dashboard, click the menu icon (☰) in the top-left corner.
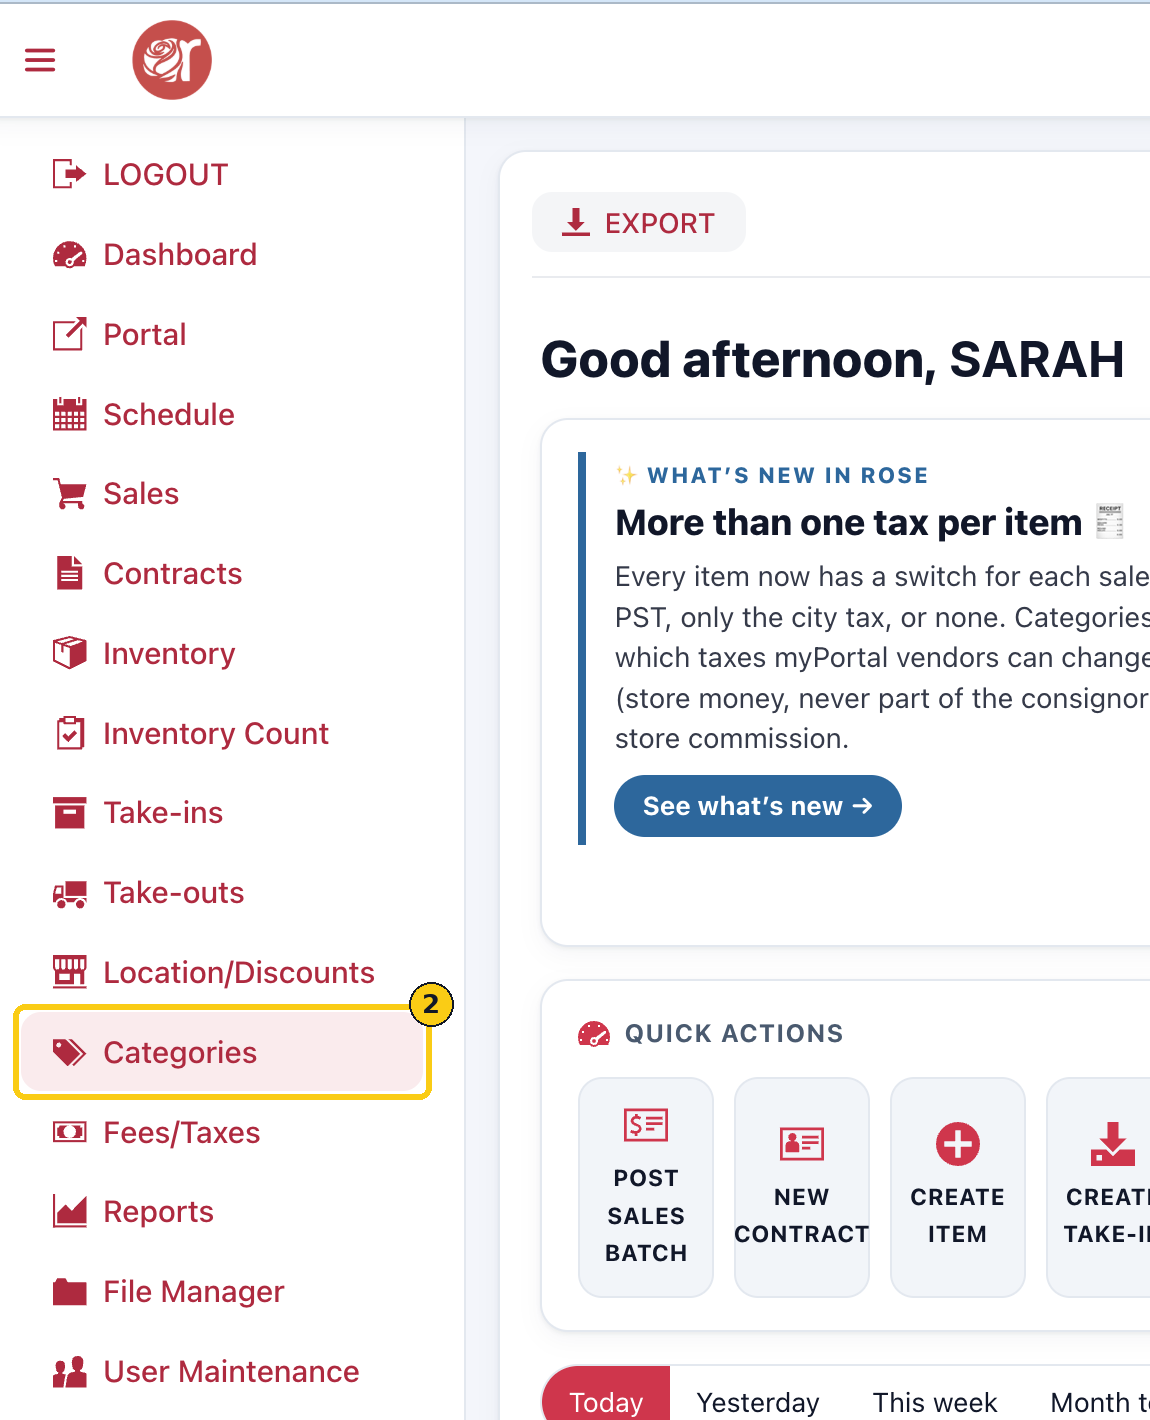
2. Click Categories.
Step 2: Enter the category details
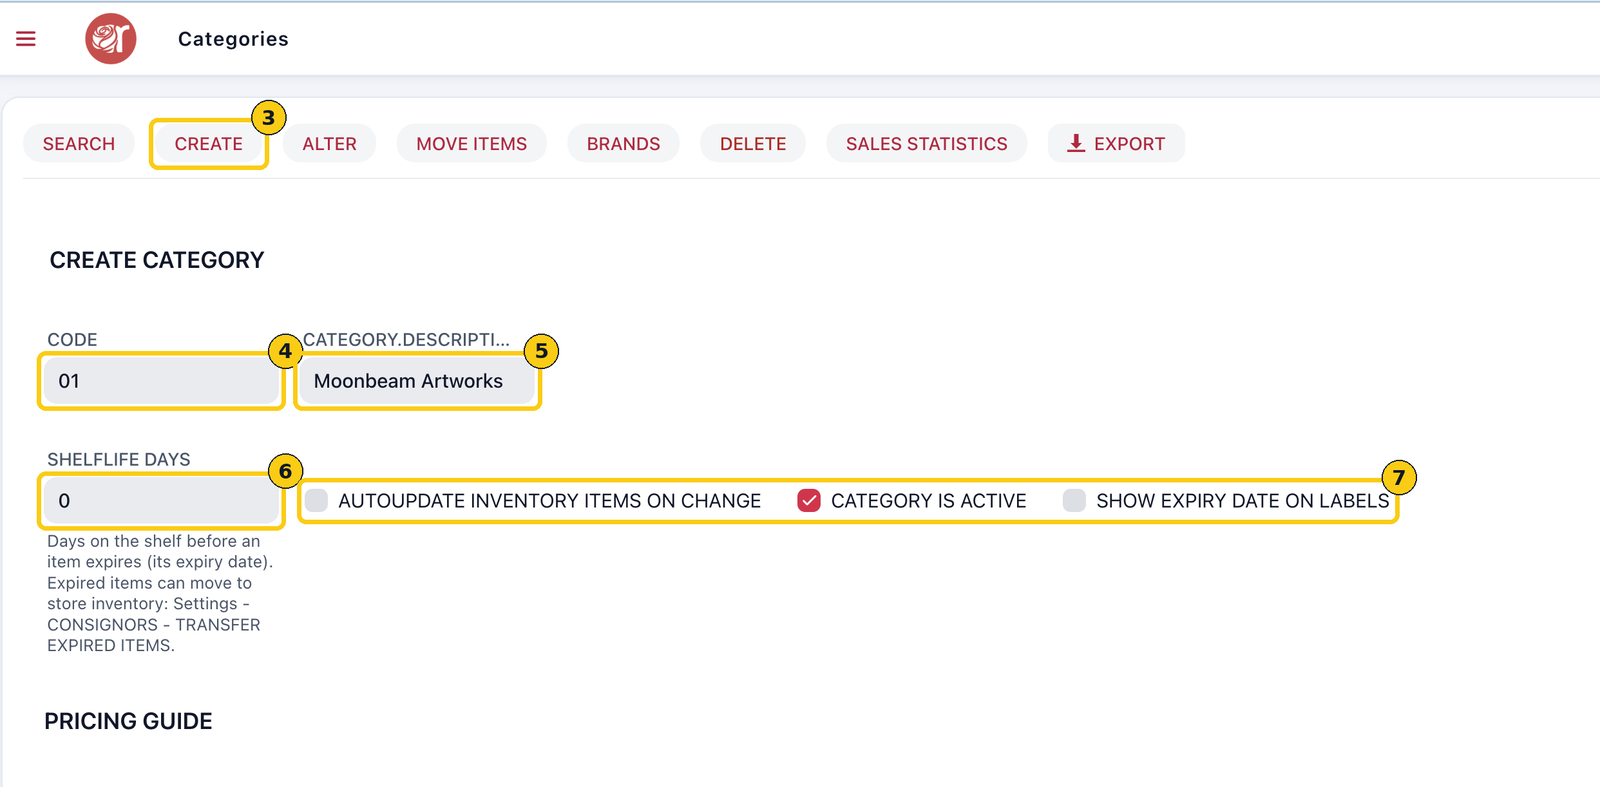
1. Click CREATE.
2. Enter a short CODE for the category (for example, 01 or HD).
3. Enter the CATEGORY.DESCRIPTION: the name staff and shoppers see, such as Moonbeam Artworks.
4. Enter SHELFLIFE DAYS: how many days items stay on the shelf before they expire. Enter 0 for items that never expire.
5. Set the options:
| Option | What it does |
|---|---|
| AUTOUPDATE INVENTORY ITEMS ON CHANGE | When you change this category later, the change is applied to its existing items too |
| CATEGORY IS ACTIVE | The category can be picked for new items (ticked for new categories) |
| SHOW EXPIRY DATE ON LABELS | Prints each item's expiry date on its label |
Step 3: Price guide and taxes
6. Add a STAFF PRICE GUIDE if you want one, for example Item must not be marked. Price range $5.50 to $10.50. Staff see it when pricing items in this category.
7. Under DEFAULT TAXES, switch on each tax that new items in this category should start with. The line underneath shows what the shopper pays, for example SHOPPER PAYS 6% TAX AT CHECKOUT. Staff can still change taxes on each item.
8. Click SAVE CHANGES.
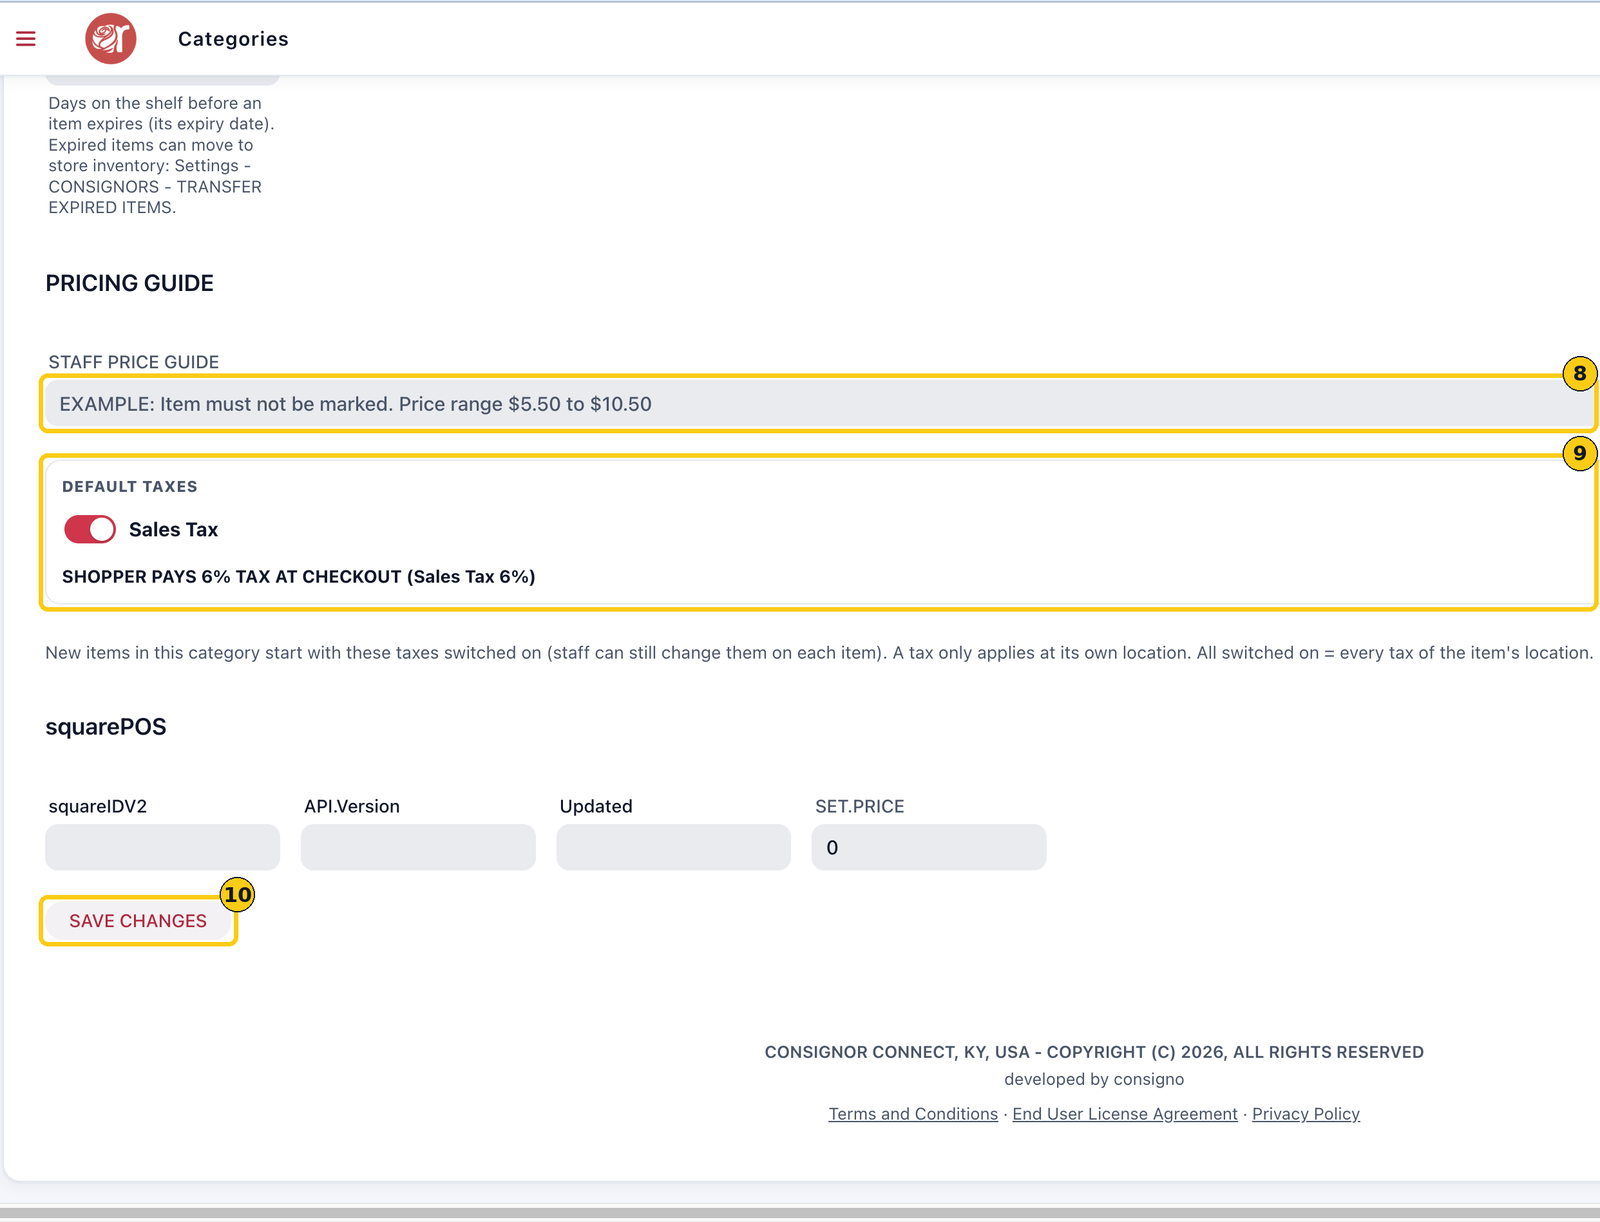
A tax only applies at its own location. With every tax switched on, an item gets all the taxes of its location. The squarePOS fields are filled in by Square; you don't need to change them.
Step 4: Check the new category
The category appears in the CATEGORIES list. While Rose sends it to Square, the ACTION column shows UPDATING IN SQUARE. Once it's done, the category is ready to use on items and take-ins.
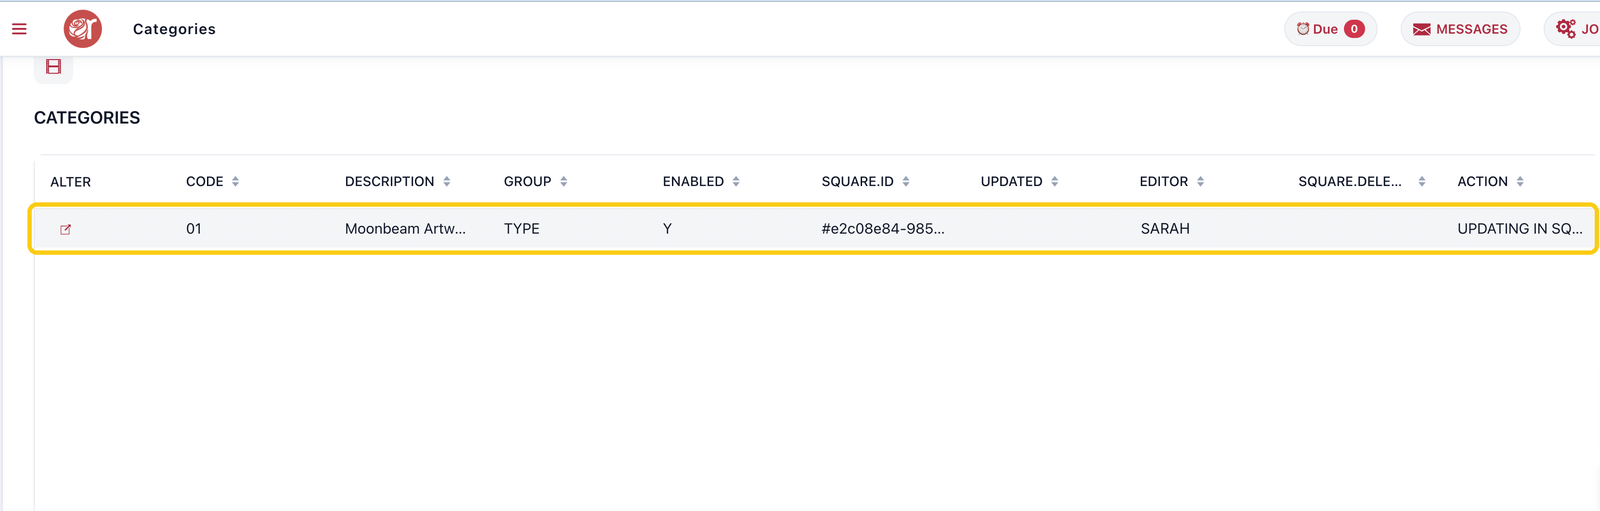
To change a category later, click the edit icon in its ALTER column.
FAQ
What does shelf life 0 mean?
Items in the category never expire, so they're never marked down by time or moved to store inventory as expired.
Will changing a category change items I already have?
Only if AUTOUPDATE INVENTORY ITEMS ON CHANGE is ticked. Otherwise the change applies to new items only.
Where do expired items go?
They can move to store inventory automatically. Set it in Administration › Settings › CONSIGNORS › TRANSFER EXPIRED ITEMS.