![1512632091642-p-500.png]](https://help.consignorconnect.com/hs-fs/hubfs/1512632091642-p-500.png?width=131&height=50&name=1512632091642-p-500.png)
Rose Pro · Take-ins
Printer-friendly PDF · One-page cheat sheet
Good to know: With Rose Pro, labels go straight to your label printer with no print window. Your label printer needs to be set up in PrintNode first (see Set up PrintNode).
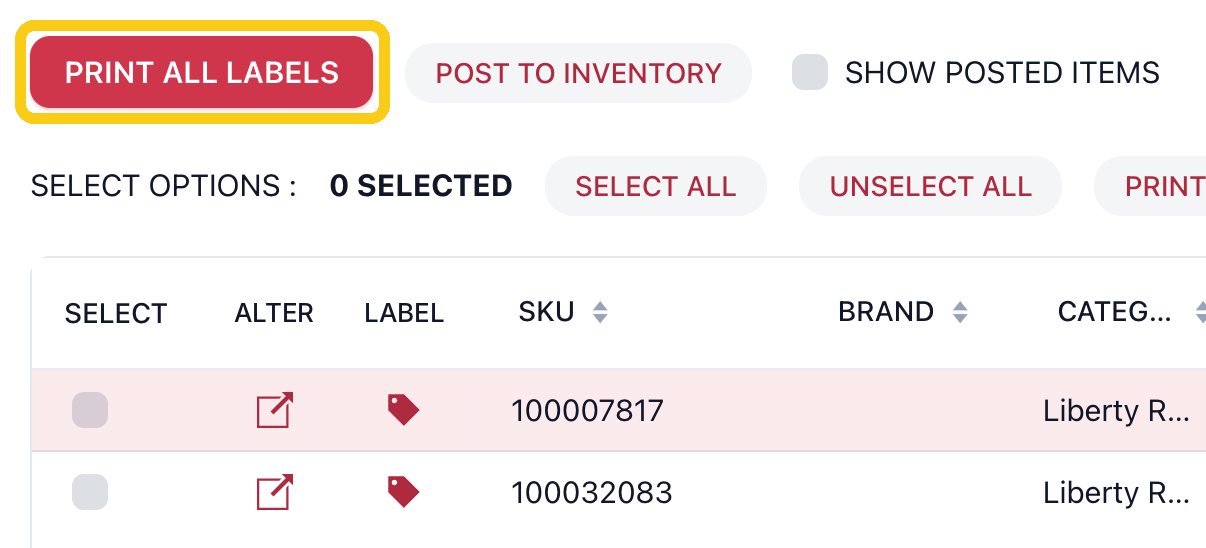
1. Click PRINT ALL LABELS
It's above the item list on the take-in. Every item on the take-in is included, so you don't need to tick any boxes.
2. Check the LABEL TYPE
It should match the labels in your printer, for example DYMO 1 x 1. Choose BY ITEM to use each item's own label type.

3. Pick your label printer in PRINTER SELECTION
Make sure it says ONLINE underneath. Your store's usual printer may already be picked.

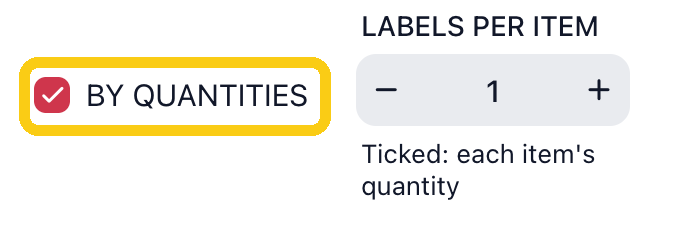
4. Leave BY QUANTITIES ticked
You get one label for each piece: 10 bowls means 10 labels. To print a set number instead, untick it and use LABELS PER ITEM.
5. Click PRINT LABELS
A green message in the bottom-left corner says SENDING 2 LABELS TO PRINTER, then 2 LABEL(S) SENT TO PRINTER (with your number of labels). Your labels print at the label printer. There's no print window.


Only want some items?
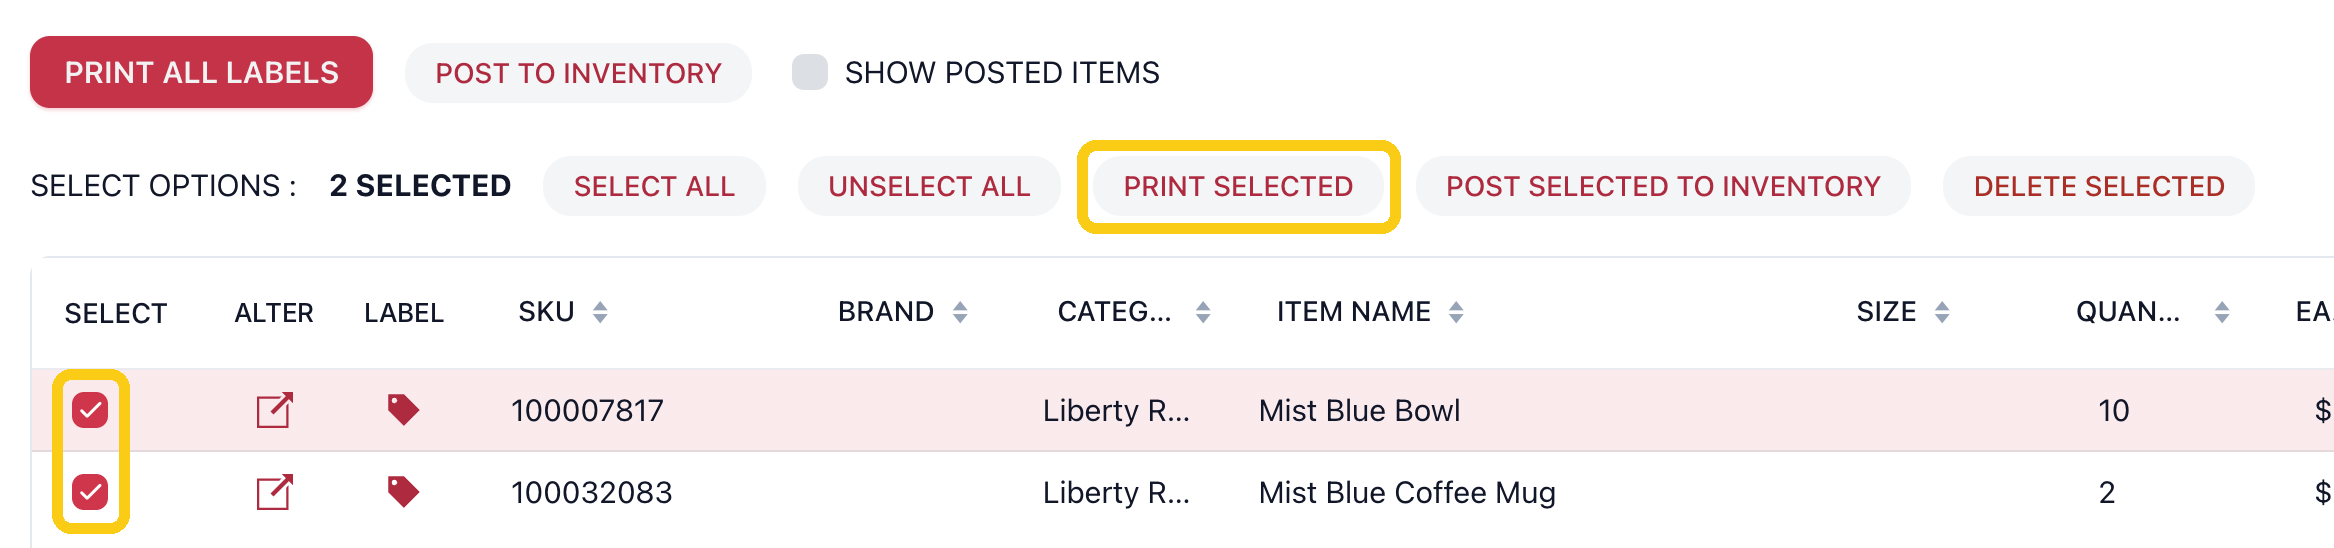
Tick the box next to each item you want, then click PRINT SELECTED. The same window opens: do steps 2 to 5.
Printing just one label? Click the red tag next to the item instead. See Print a label.
Label looks wrong, or need more help? Ask your Rosebot or email support@consignorconnect.com.