![1512632091642-p-500.png]](https://help.consignorconnect.com/hs-fs/hubfs/1512632091642-p-500.png?width=131&height=50&name=1512632091642-p-500.png)
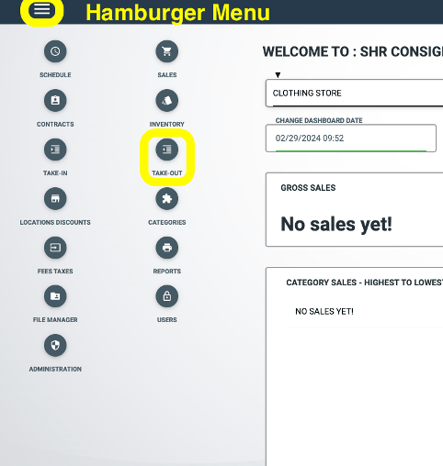
- Click on Take-Outs within the Hamburger Menu or Dashboard Take Out icon.
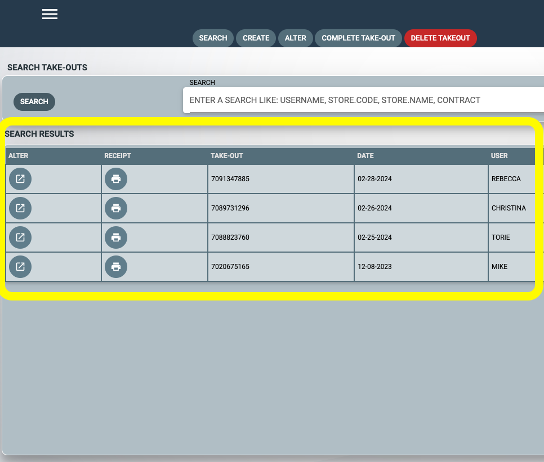
- Any currently open take-outs will be viewable in this screen.
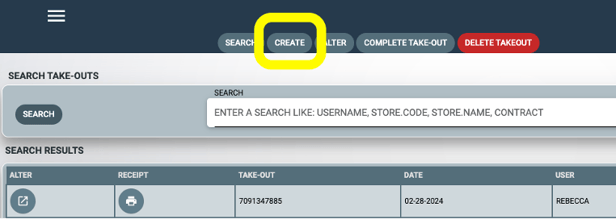
- To create a new take-out, click on Create at the top.
- Select the Take-Out Method in the Drop Down Menu:
- Remove- removes items from selling inventory and places them in the consignor's donate file, unless changed to another status (delete, lost, damaged, sampled, etc)
- Return - removes items from selling inventory to a be returned to a consignor.
- Transfer - allows you to transfer an item to another account.Select the take-out method in the drop-down menu
- Change location - moves stock from one Square location to another.
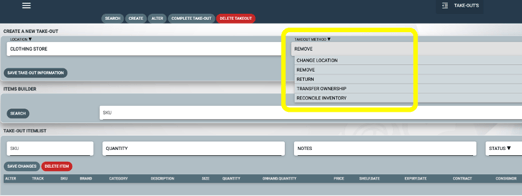
- Click Save Take-Out Information to continue.
- The default status set for an item in the take-out removal is donate. If this isn't accurate, change the default status to an appropriate one in the drop down menu.
- Begin scanning (via barcode scanner) or manually inputting SKUs into the search field below. The table will auto-populate as scan more items. To edit the status an individual item, highlight it in the table below and change the default status for that particular item in the drop down menu on the bottom right side of the screen. If necessary, enter additional info into the notes and click Save Changes for that item.
- You can also bulk Take-Out items by selecting a date in the date picker. This will import items that have expired on or before the date selected. These expiration dates come from the shelf-life entered for a category. Example: Women's tops have a shelf-life of 90 days so every women's top will have an expiration date 90 days from the shelf date created when an item is posted to inventory.
- Before you complete the take-out, click the "Search" button at the top to go back to the Take-out list page. Print your take-out receipt and then finished, click on Complete Take-Out at the top to process the take-out/
- To Return an item to a consignor - you must input the consignor's account # and then save take-out and begin scanning or inputting SKUs into the search field. When complete, click Complete Take-Out at the top. When complete, click the Search button at the top to go back to the main Take-Out Screen. You can then print a Consignor's Take-Out Return Receipt if needed.
- To Transfer - enter the account # for which you are transferring items to and then save take-out. Beginning entering or scanning SKUs into the search field.
- To Change the Location of an item, click where it says "Move Inventory to Location" and change to the location the item is going to. Then click the "Take-Out Method" and change it to "Change Location"
- Then Click Save Take-Out Information.
- When a Take-Out is complete highlight the take-out and click Complete Take-Out at the top to then process and complete that take-out.